Large-scale experiments give us a more realistic idea of pesticide toxicity than single-species tests. Mesocosm studies for example simulate natural ecosystems and can include several trophic levels, which help us to detect both direct and indirect pesticide effects. However, large scale means large workload. In the scope of my master thesis I set up and performed a mesocosm experiment at the National Wildlife Research Center in Ottawa, Canada. Follow me through my 10 steps of set-up.
Step 1: Mesocosm set-up (photo by V. Sesin)
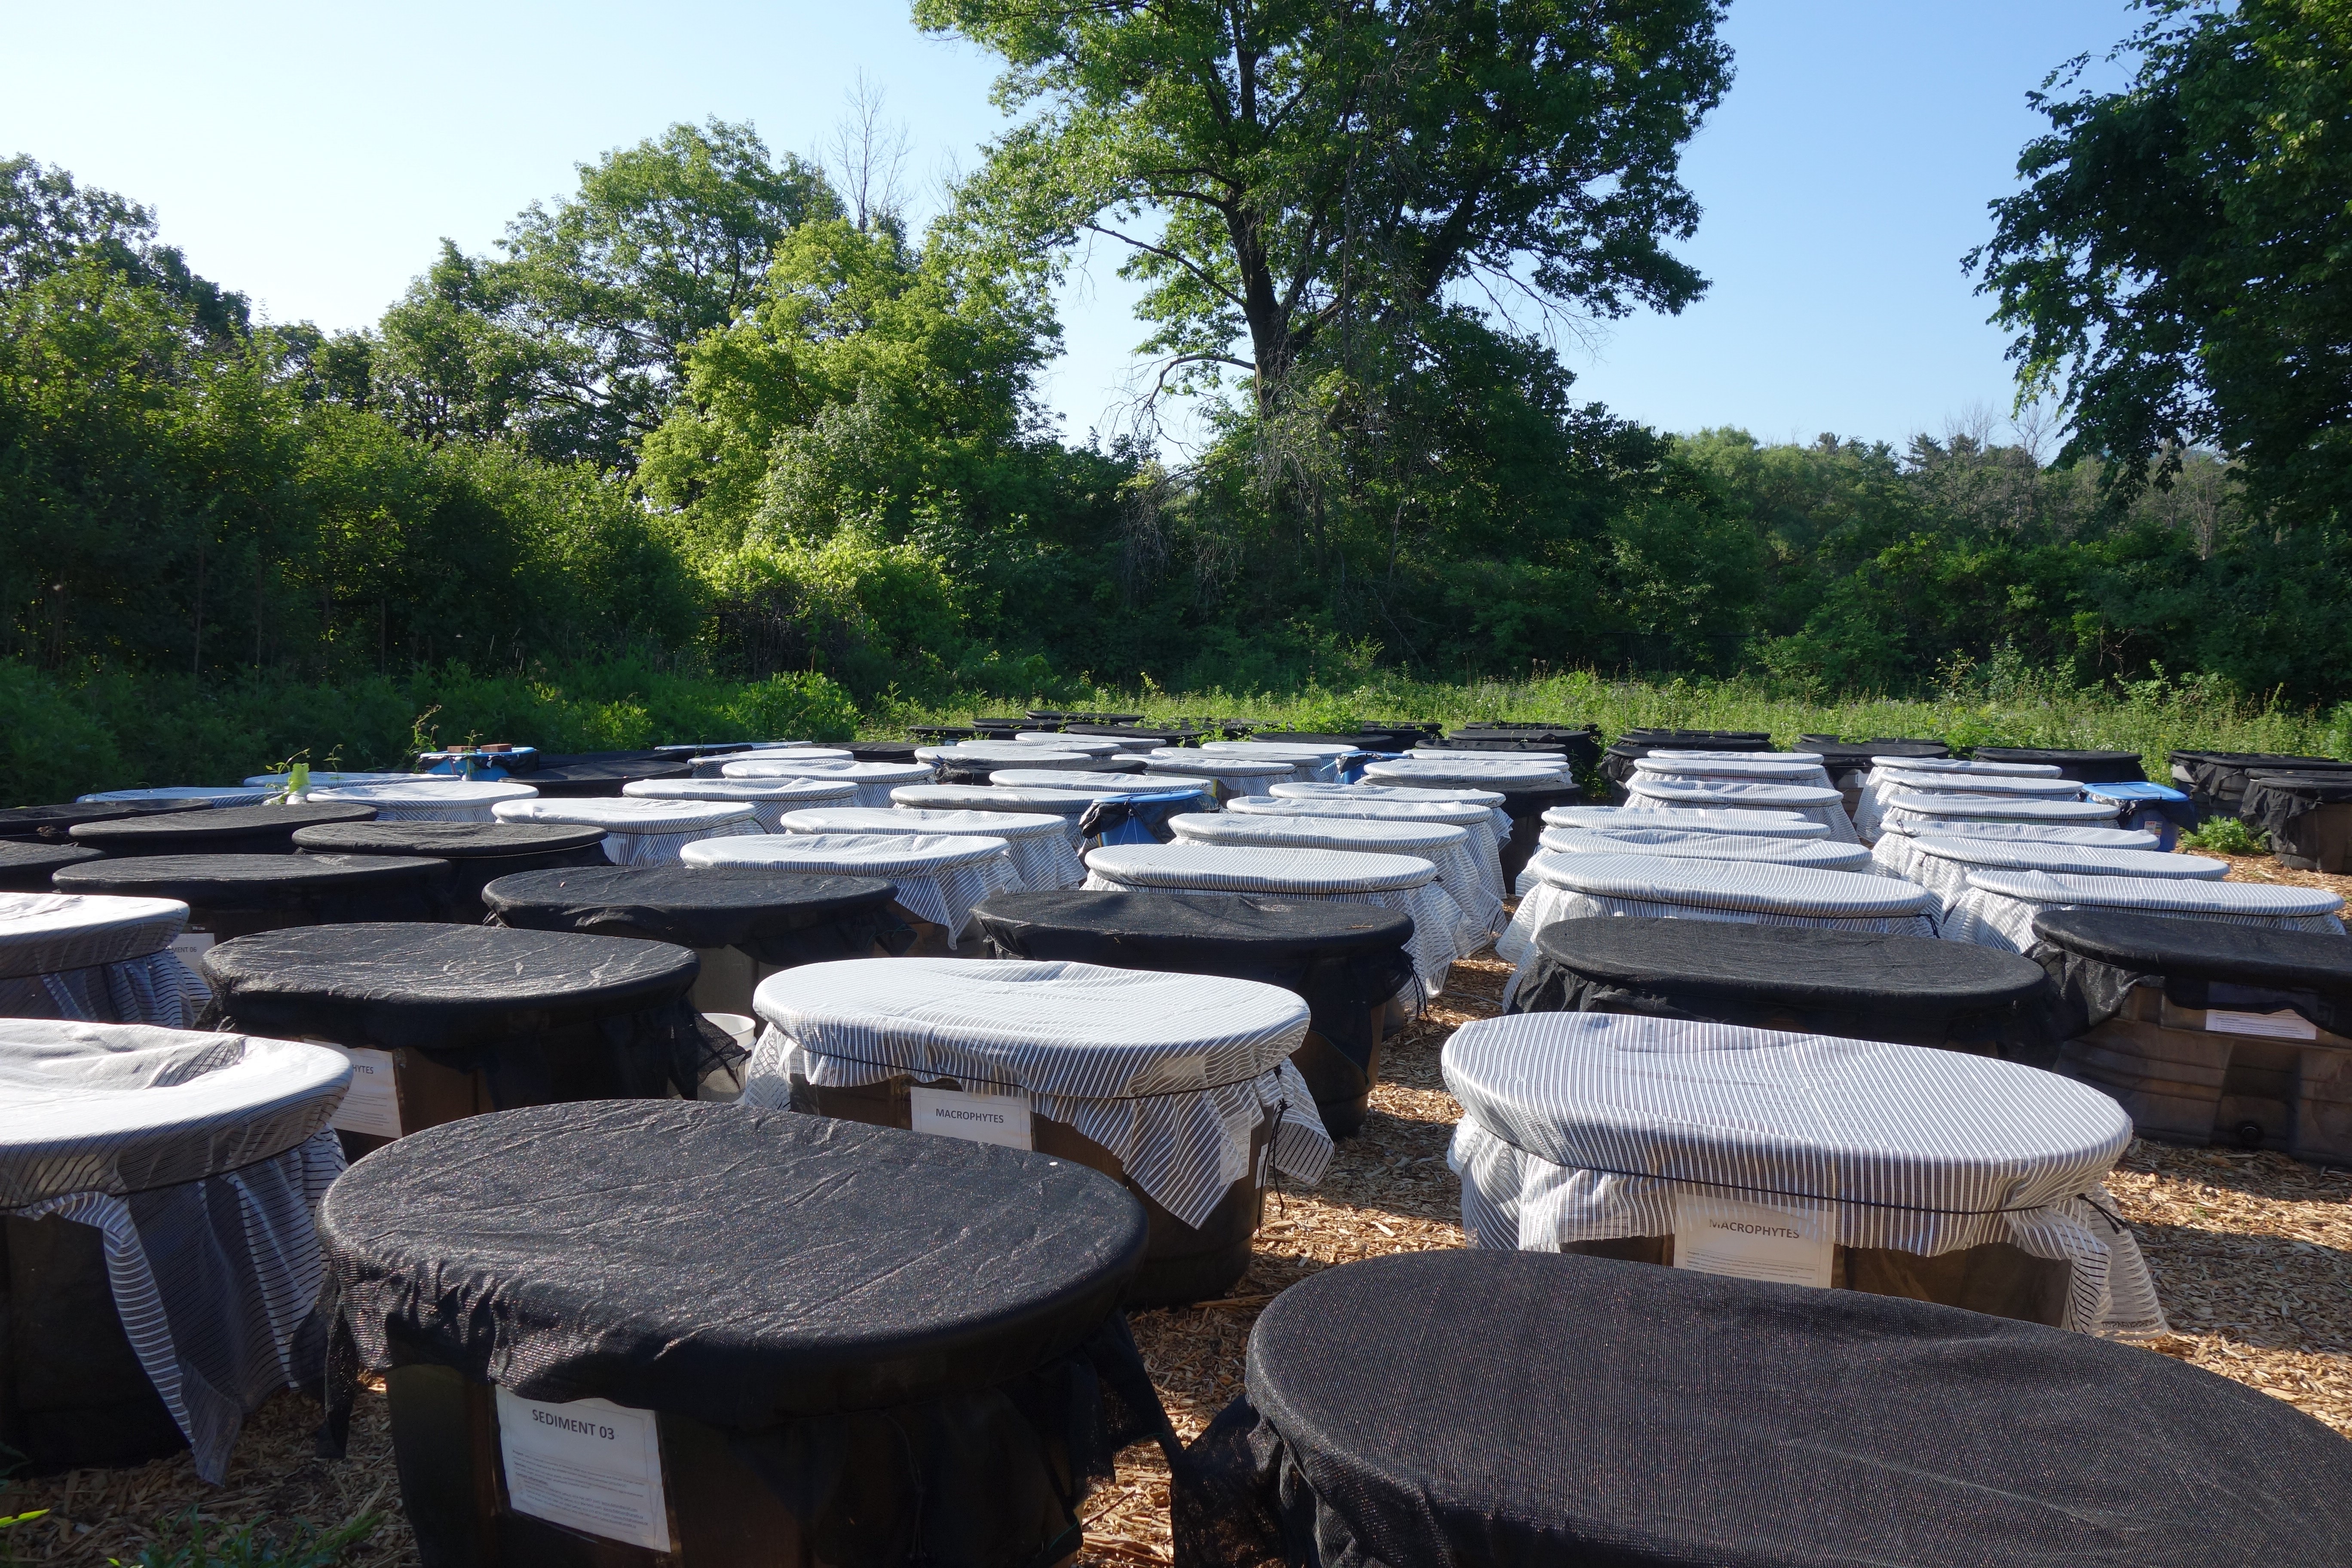
Step 1: Mesocosm set-up
The mesocosms were black cattle tanks filled with 280 litres of test medium. 30 experimental tanks, 3 extra tanks, and 30 extra sediment tanks were set up in a randomized block design.
Step 2: Natural sediment collection (photo by V. Sesin)
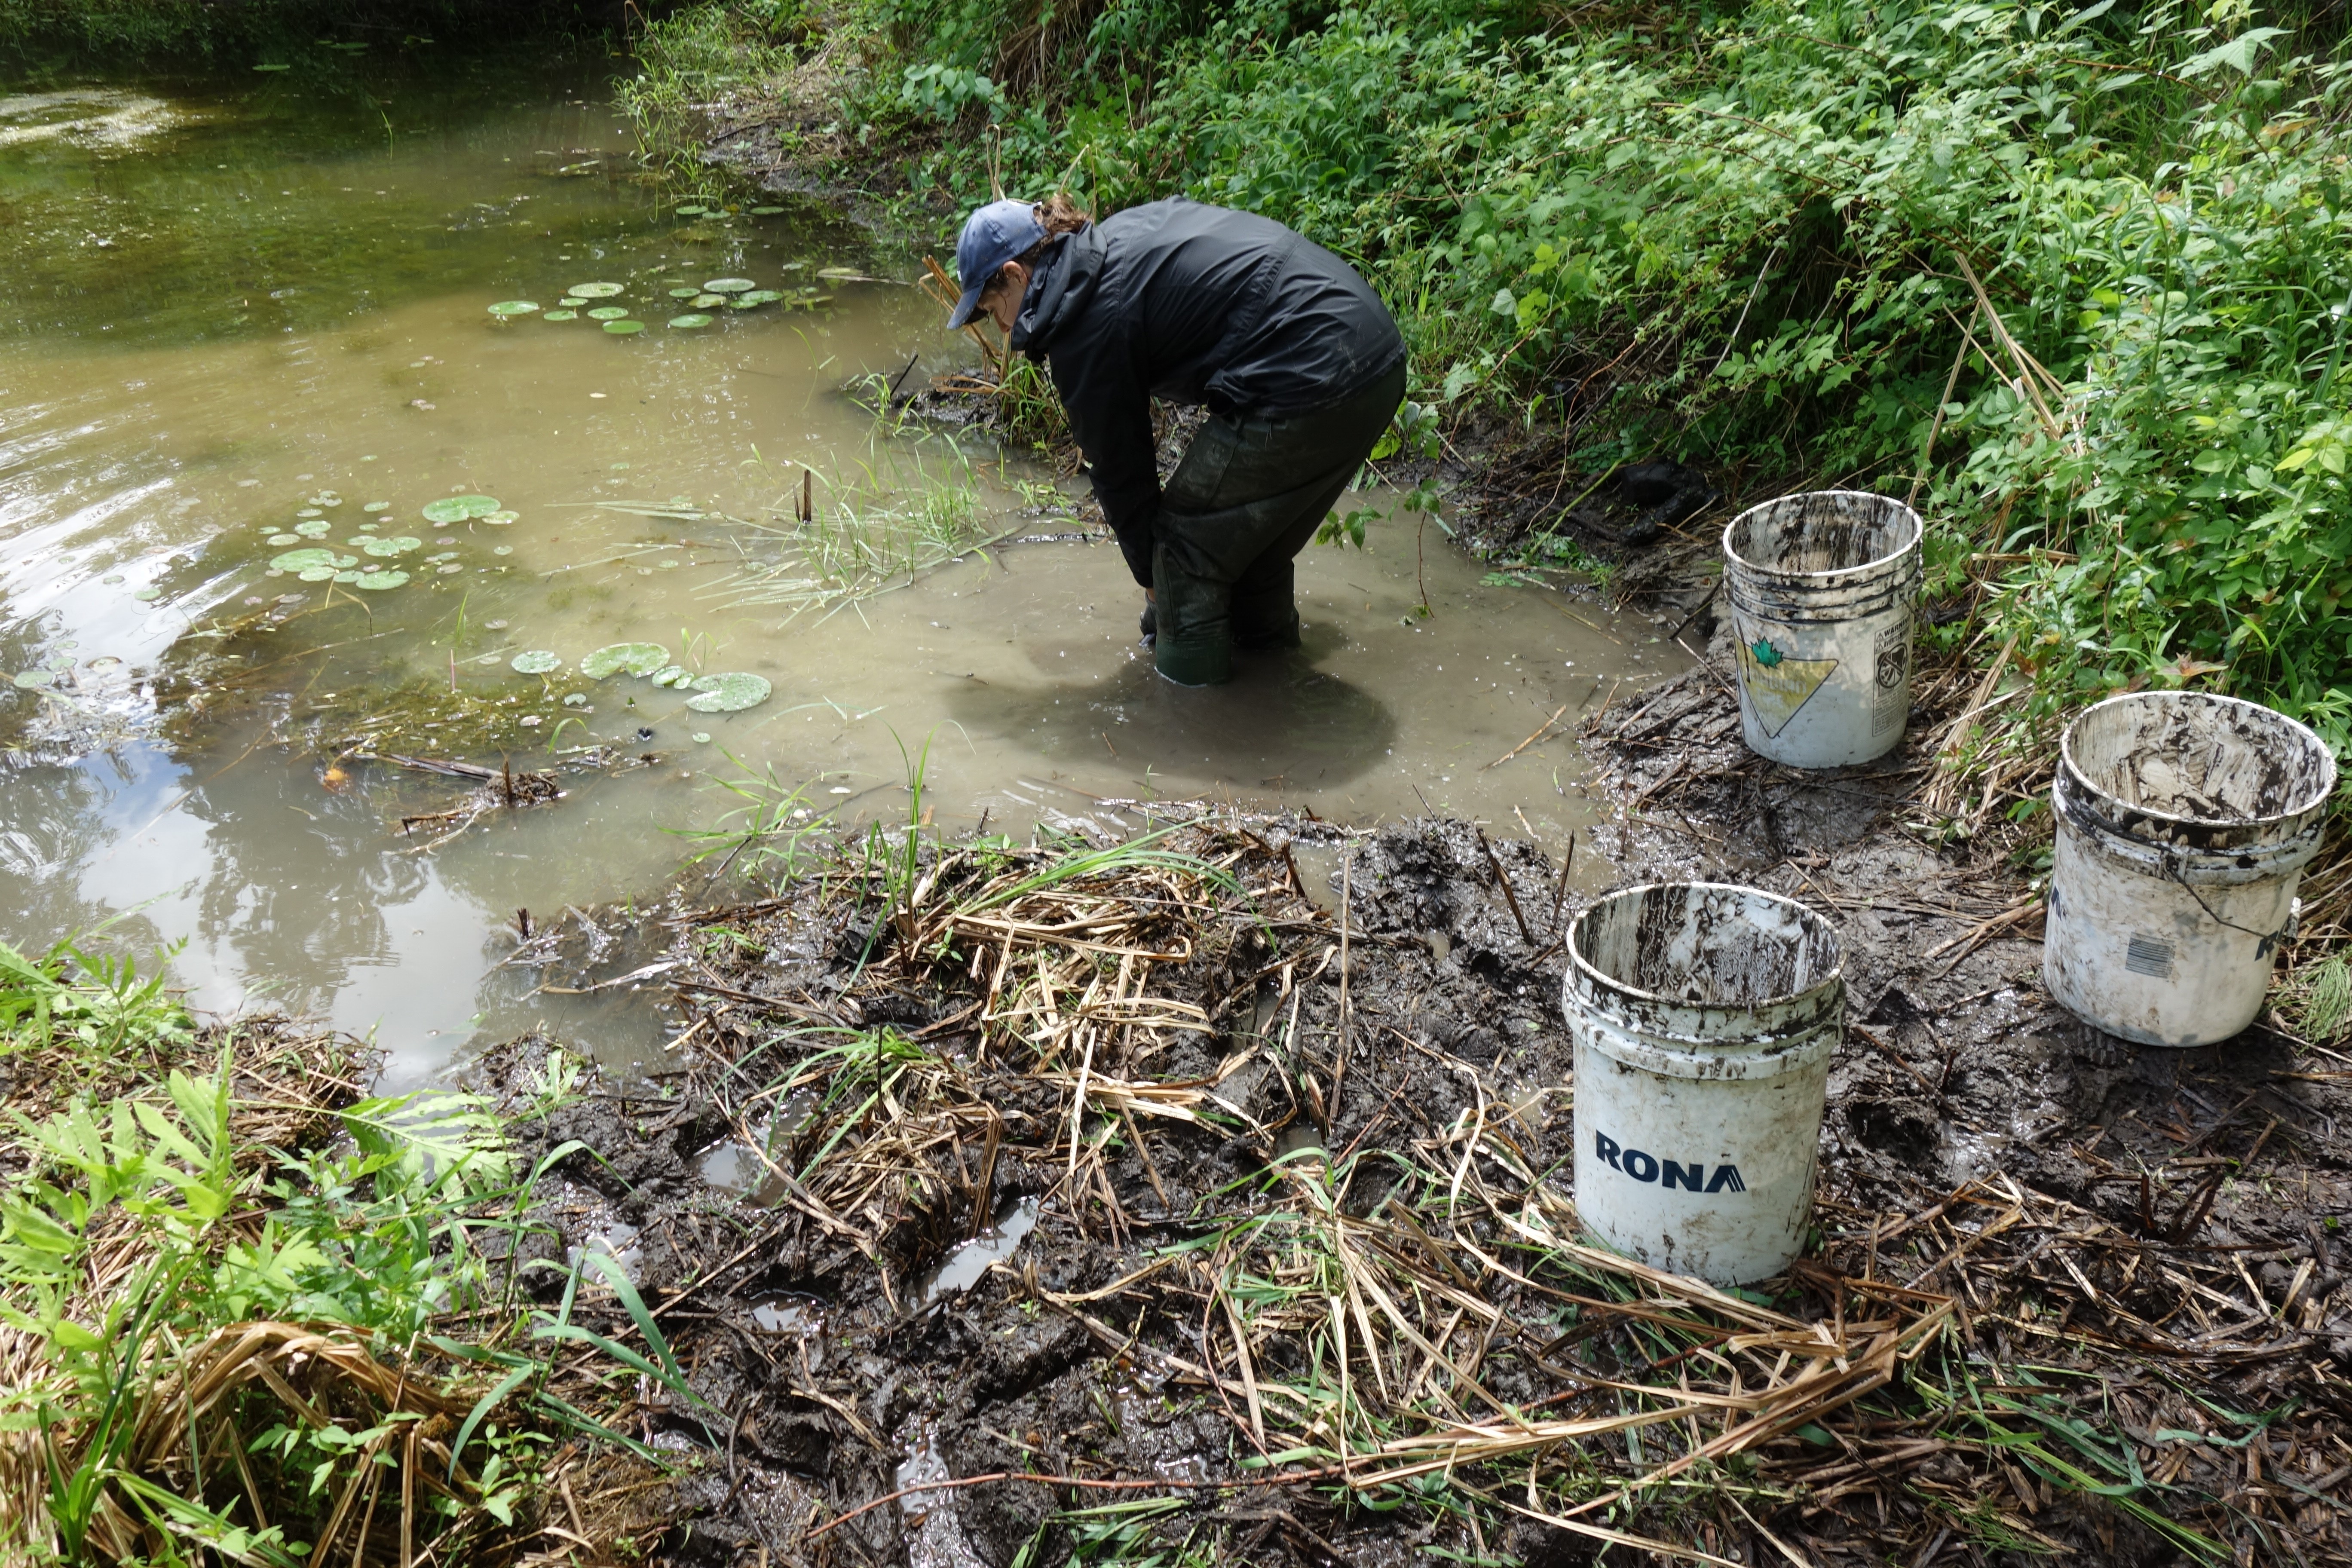
Step 2: Natural sediment collection
We decided to add a portion of natural lake sediment to our test sediment, which would hopefully enhance the growth of the aquatic plants. However, the lake sediment could not simply be added. We had to carefully sift through the sediment to remove plant shoots, roots and invertebrates, so they would not end up in the mesocosms.
Step 3: Sediment mixing (photo by V. Sesin)
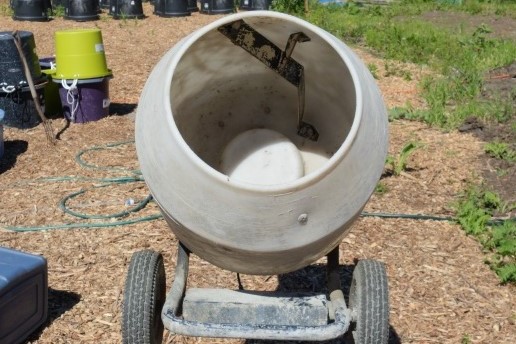
Step 3: Sediment mixing
We used a commercial cement mixer to mix our sediment. One batch was a combined total of 40 kg of sand, peat, clay and nutrient solution; then a portion of our lake sediment was added. In total, we mixed 26 batches – three days of continuous mixing.
Step 4: Sediment storage (photo by V. Sesin)
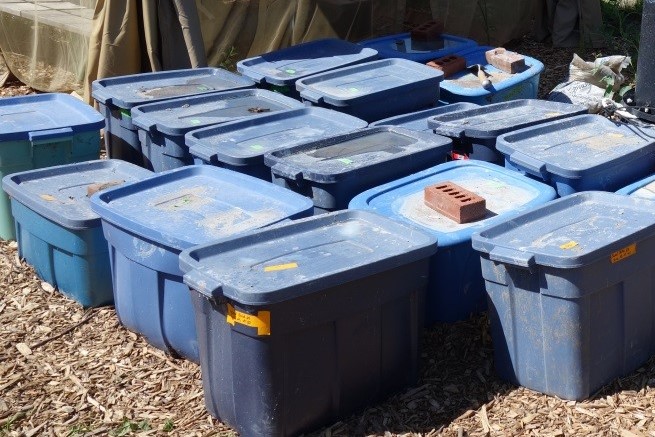
Step 4: Sediment storage
The freshly mixed sediment was stored in blue totes. These kept the sediment away from the sunlight and allowed thorough soaking. So many heavy blue totes.
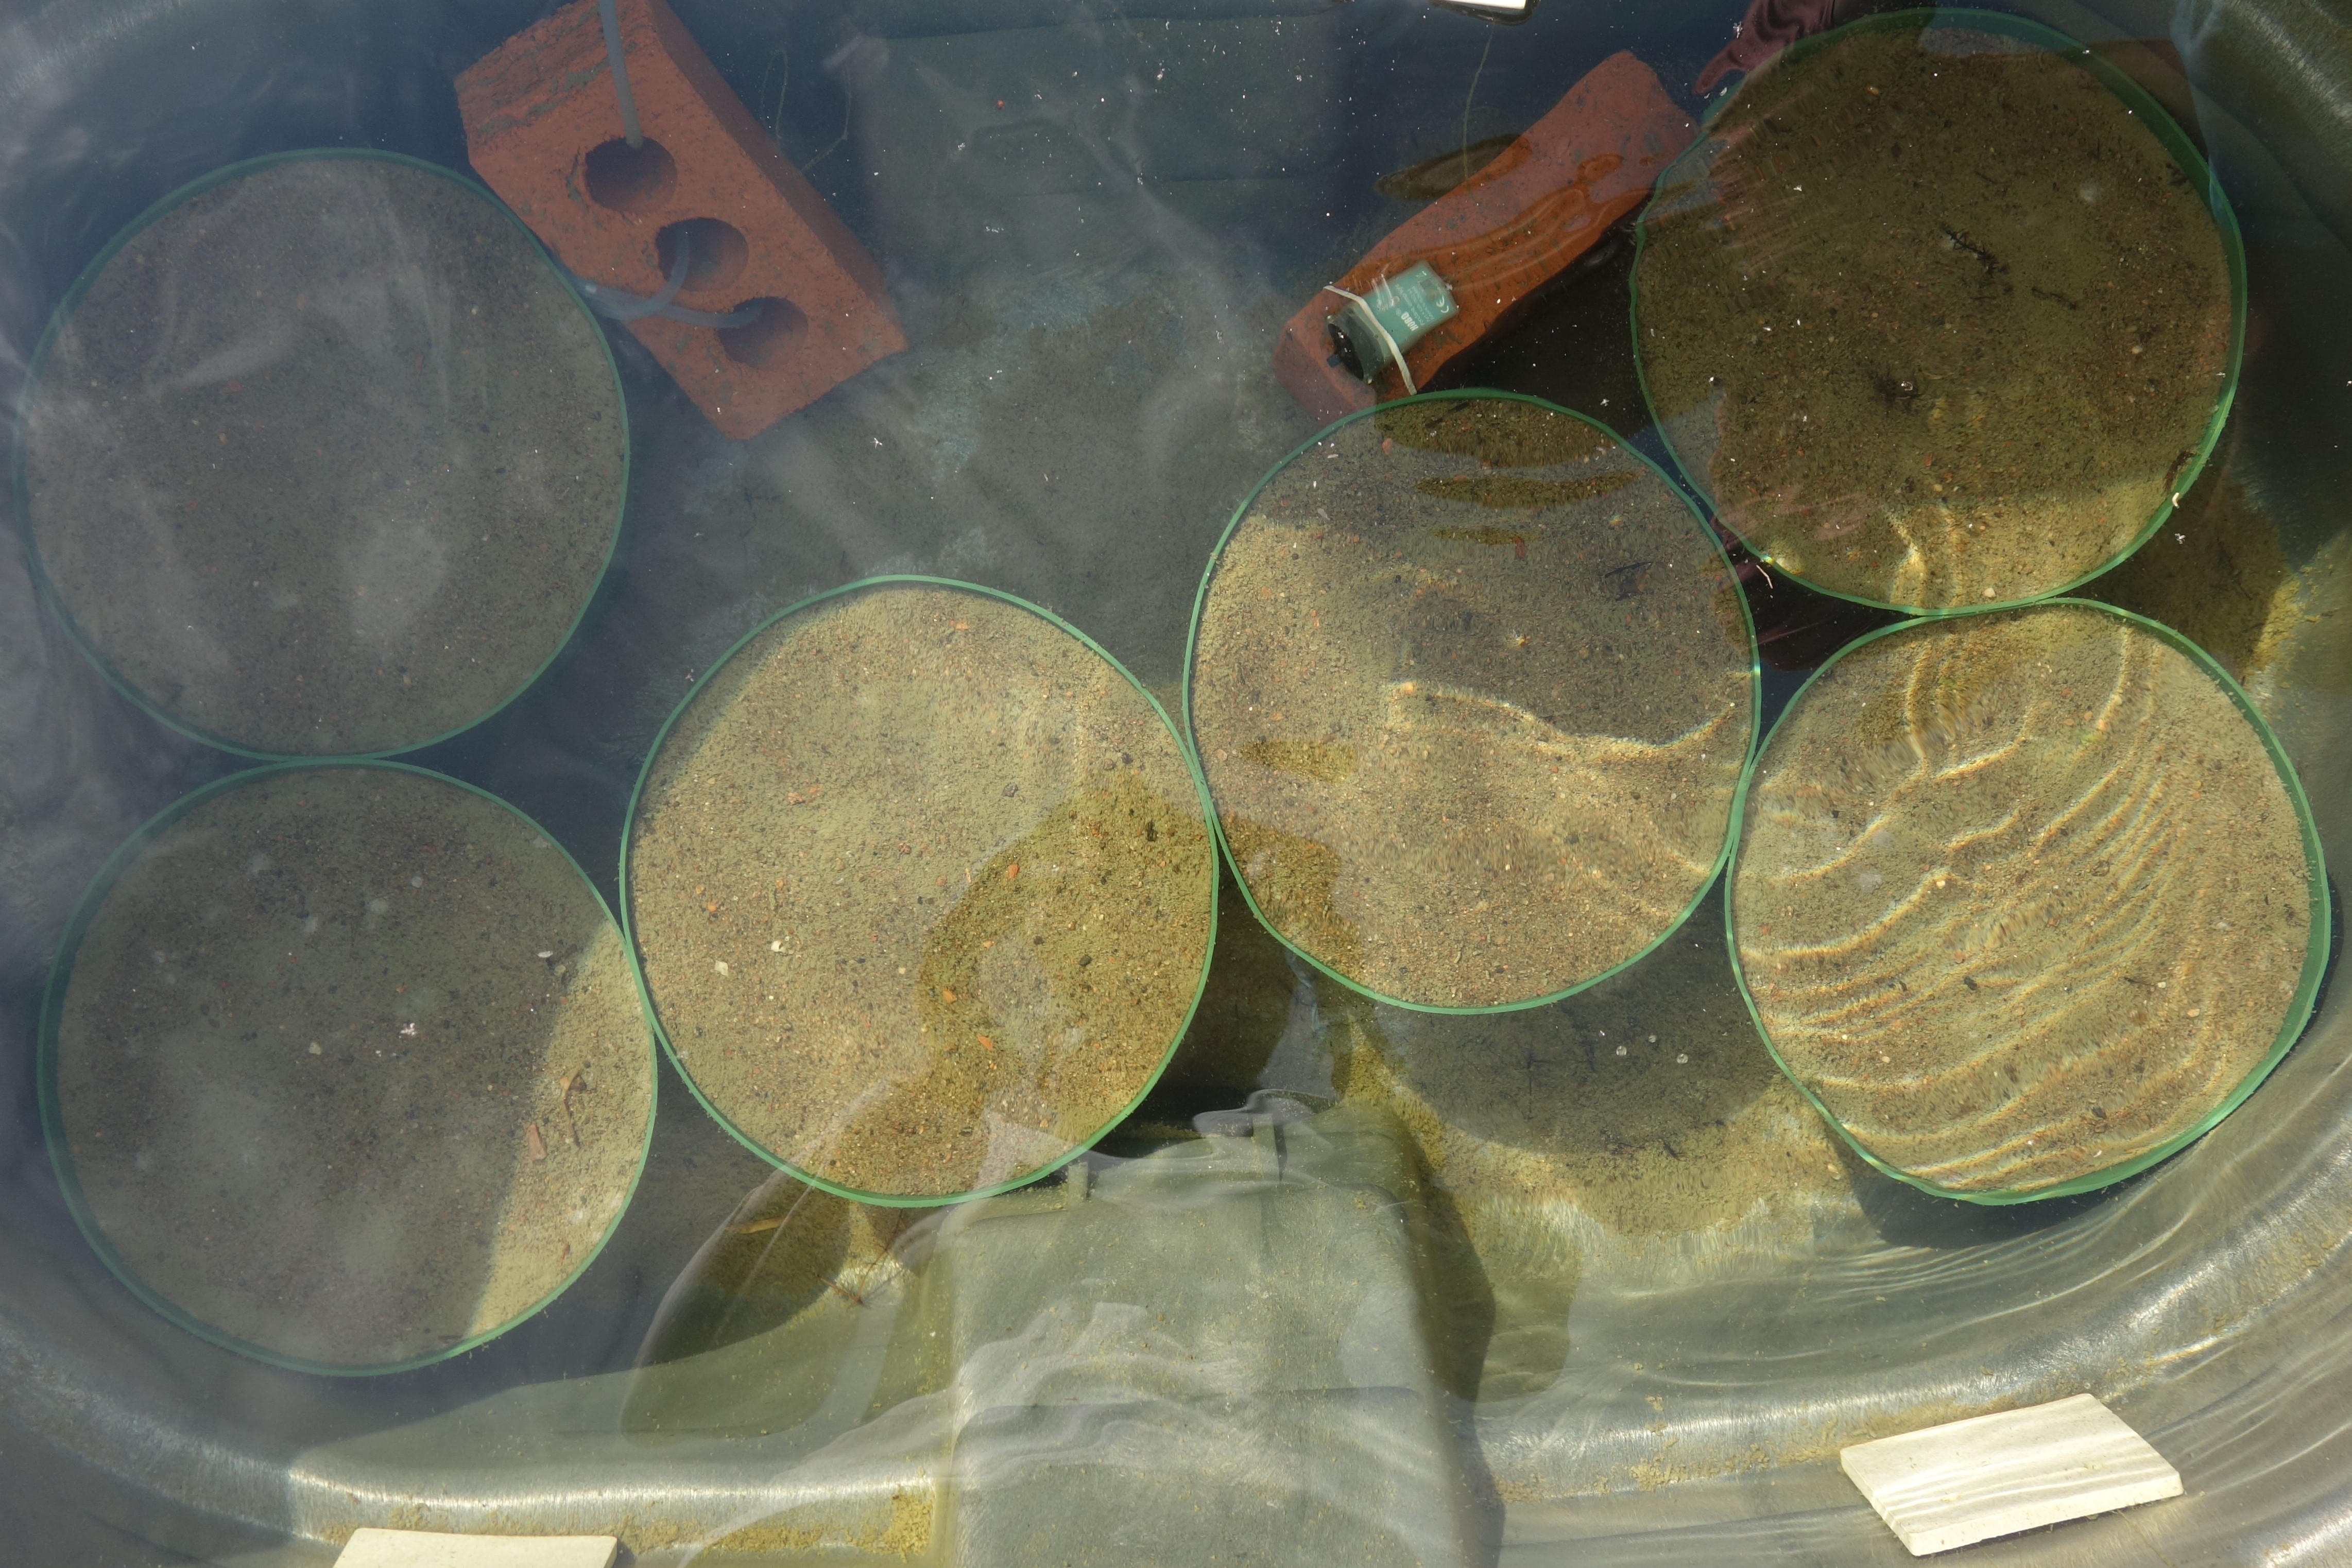
Step 6: Sediment aging (photo by V. Sesin)
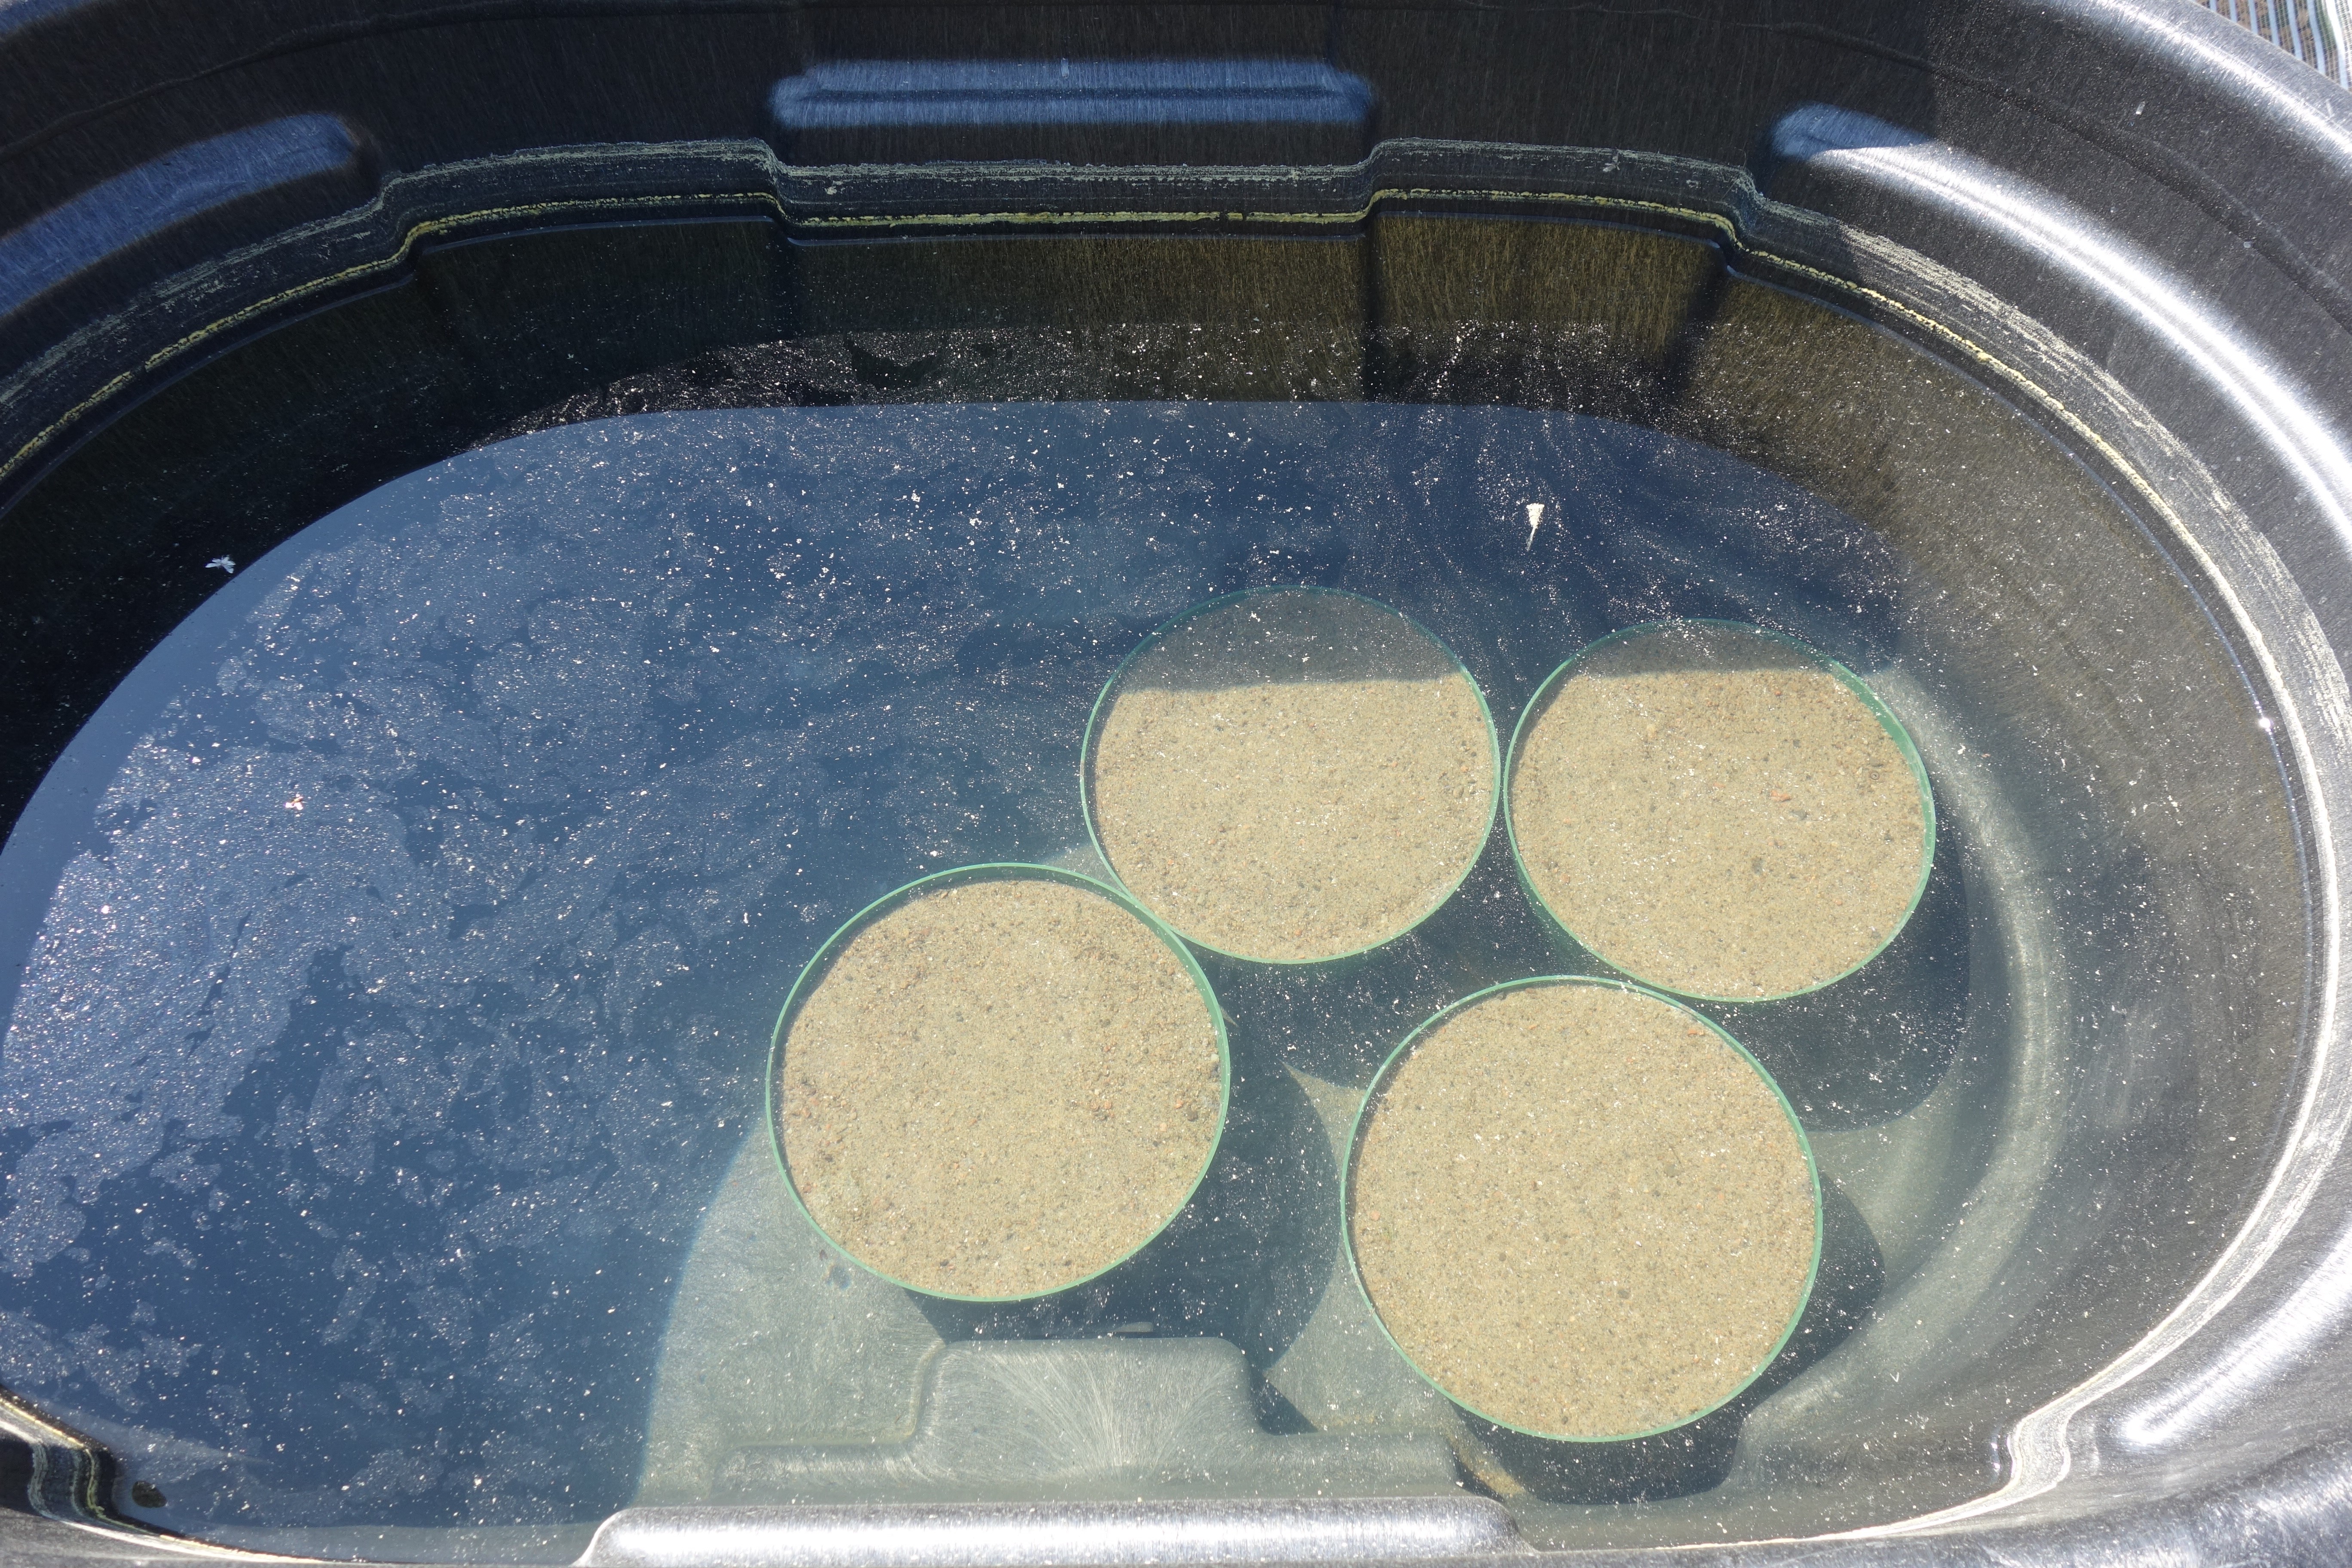
Step 5: Sediment aging
The test sediment pots were filled with landscape cloth on the bottom, then small stones, sand, sediment mixture and a covering sand layer. Subsequently, the pots were submerged and aged for a week, allowing for excess nutrients to leach out and invertebrates to hatch that may have still been hiding in the lake sediment. 198 pots were prepared.
Step 6: Plant collection (photo by V. Sesin)
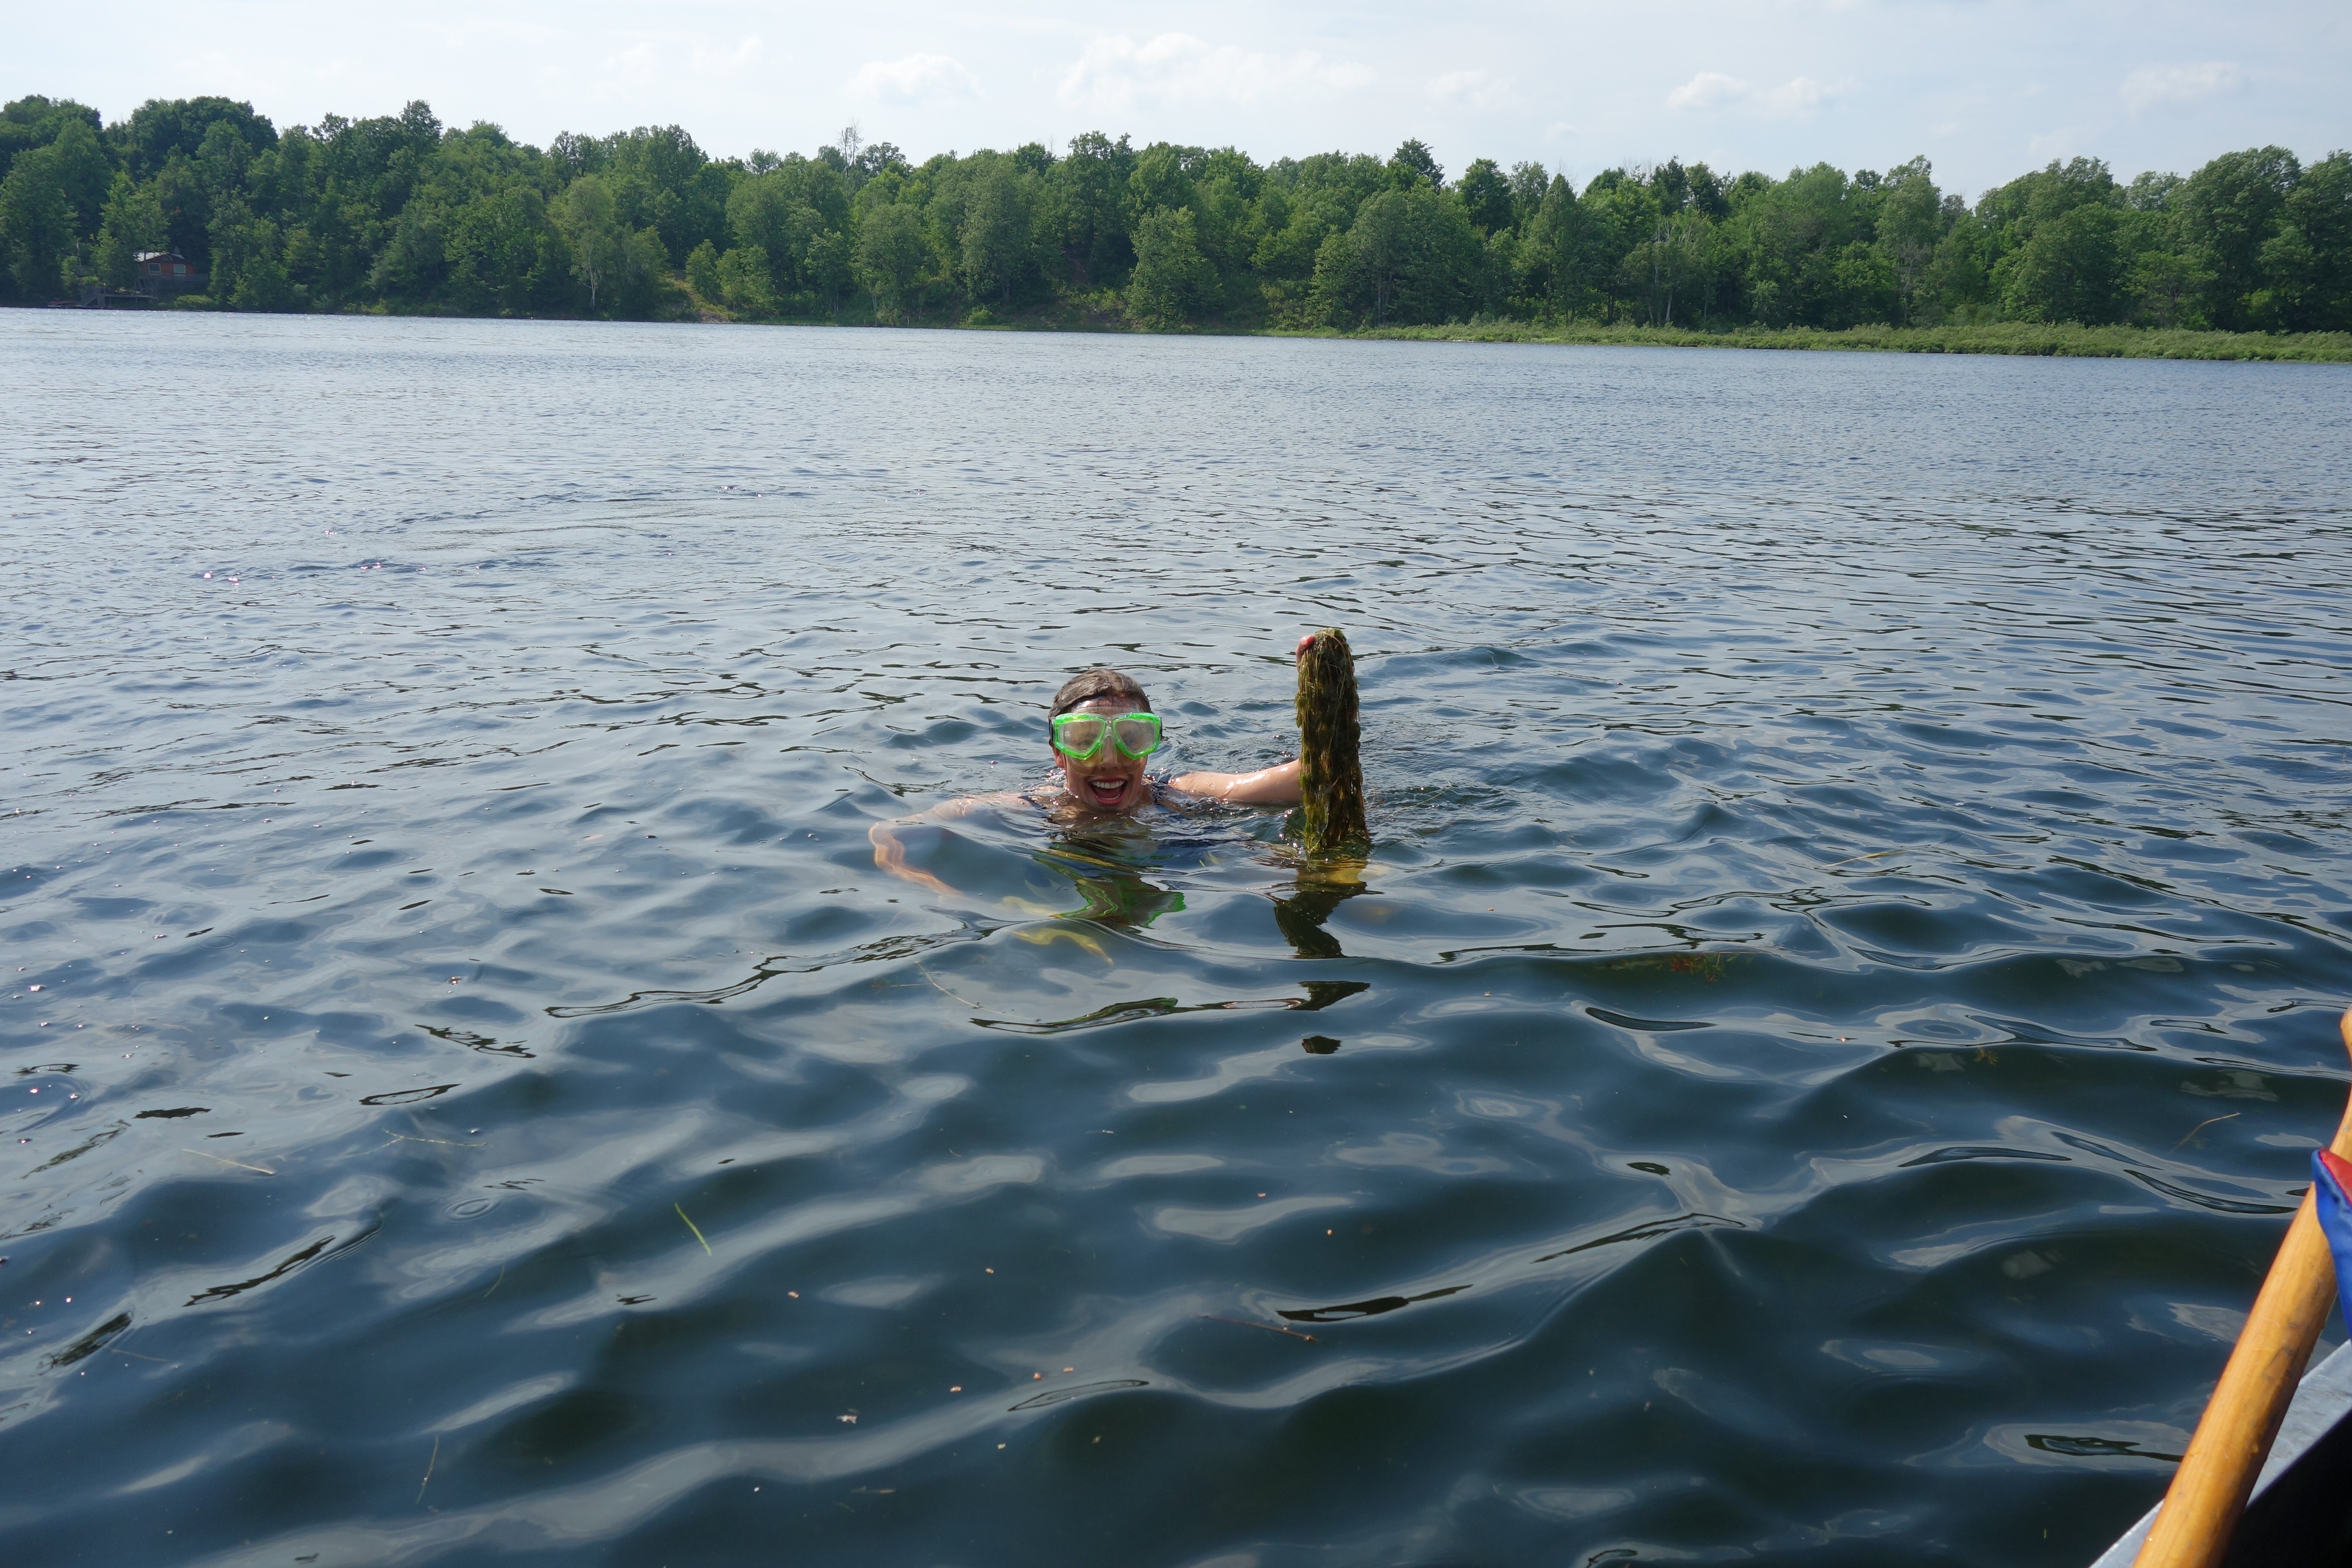
Step 6: Plant collection
We struggled to collect all our aquatic test plants from the shore. So what do Canadians do? They take out the canoe, paddle in the middle of the lake and dive for the plants.
Step 7: Plant acclimatization (photo by V. Sesin)
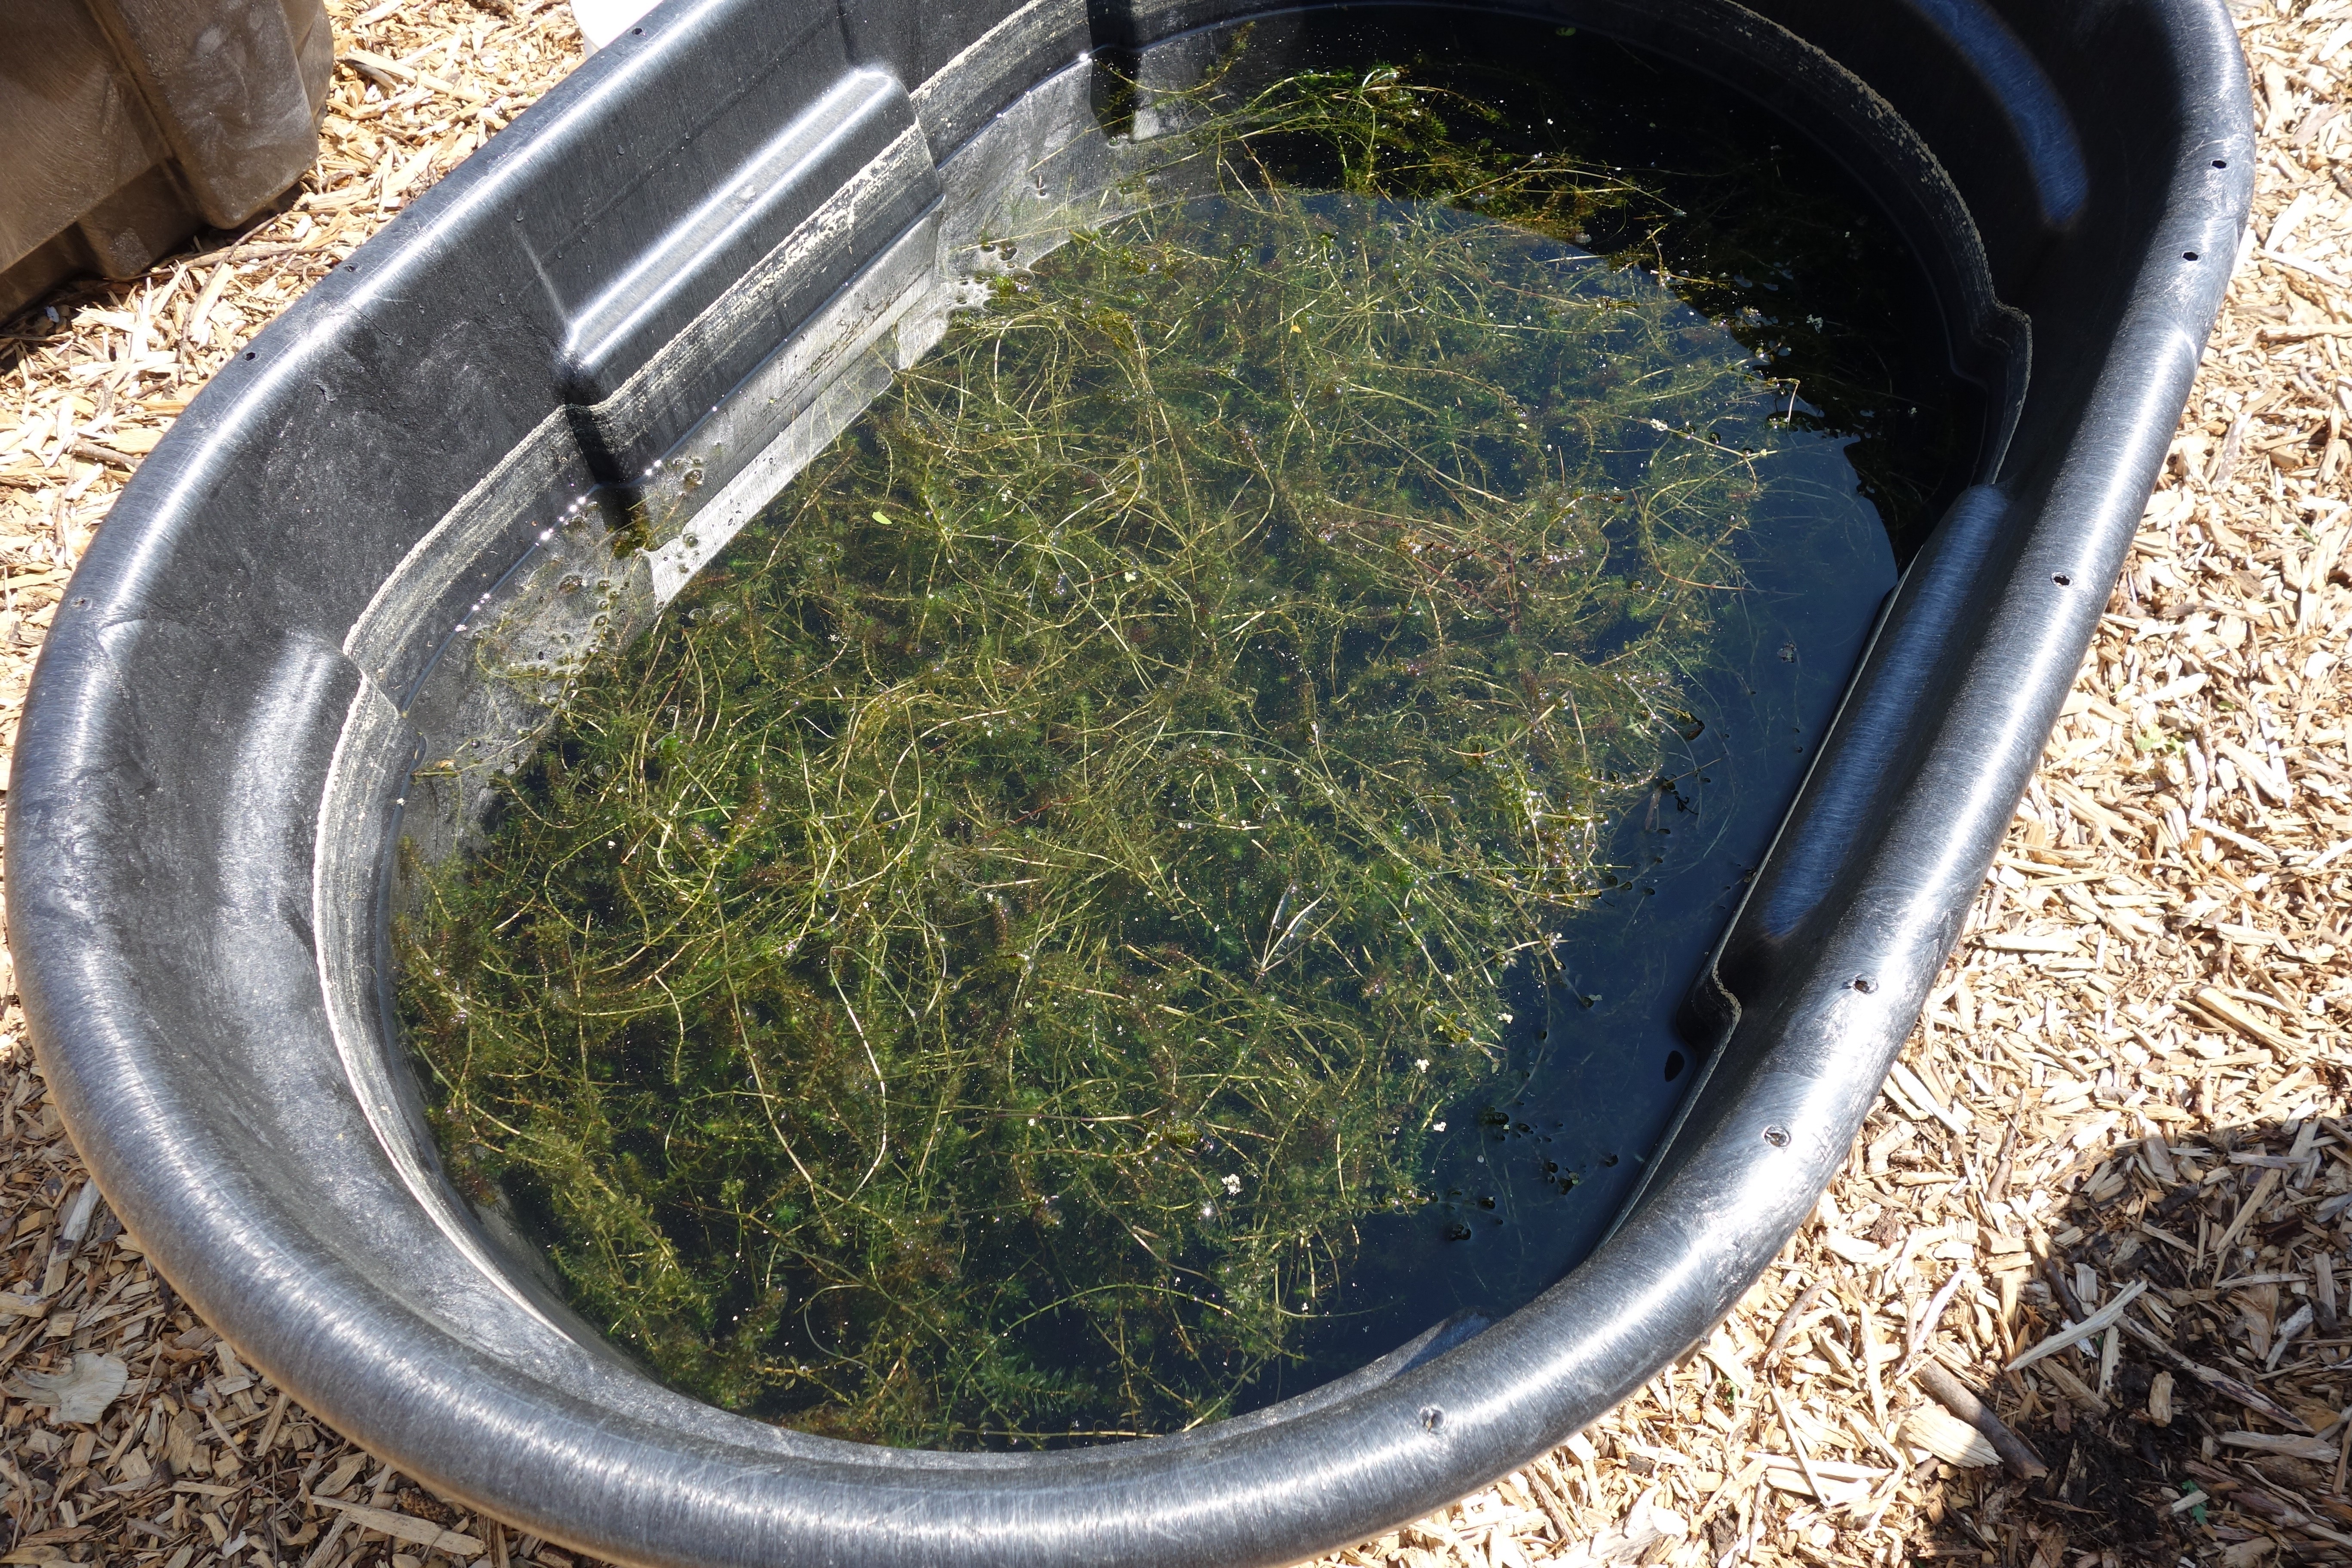
Step 7: Plant acclimatization
We maintained the aquatic plants in a stock tank filled with our test medium for a few days, so that they could adapt to the test conditions. Only healthy plant shoots were chosen for the planting.
Step 8: Plant cutting (photo by V. Sesin)
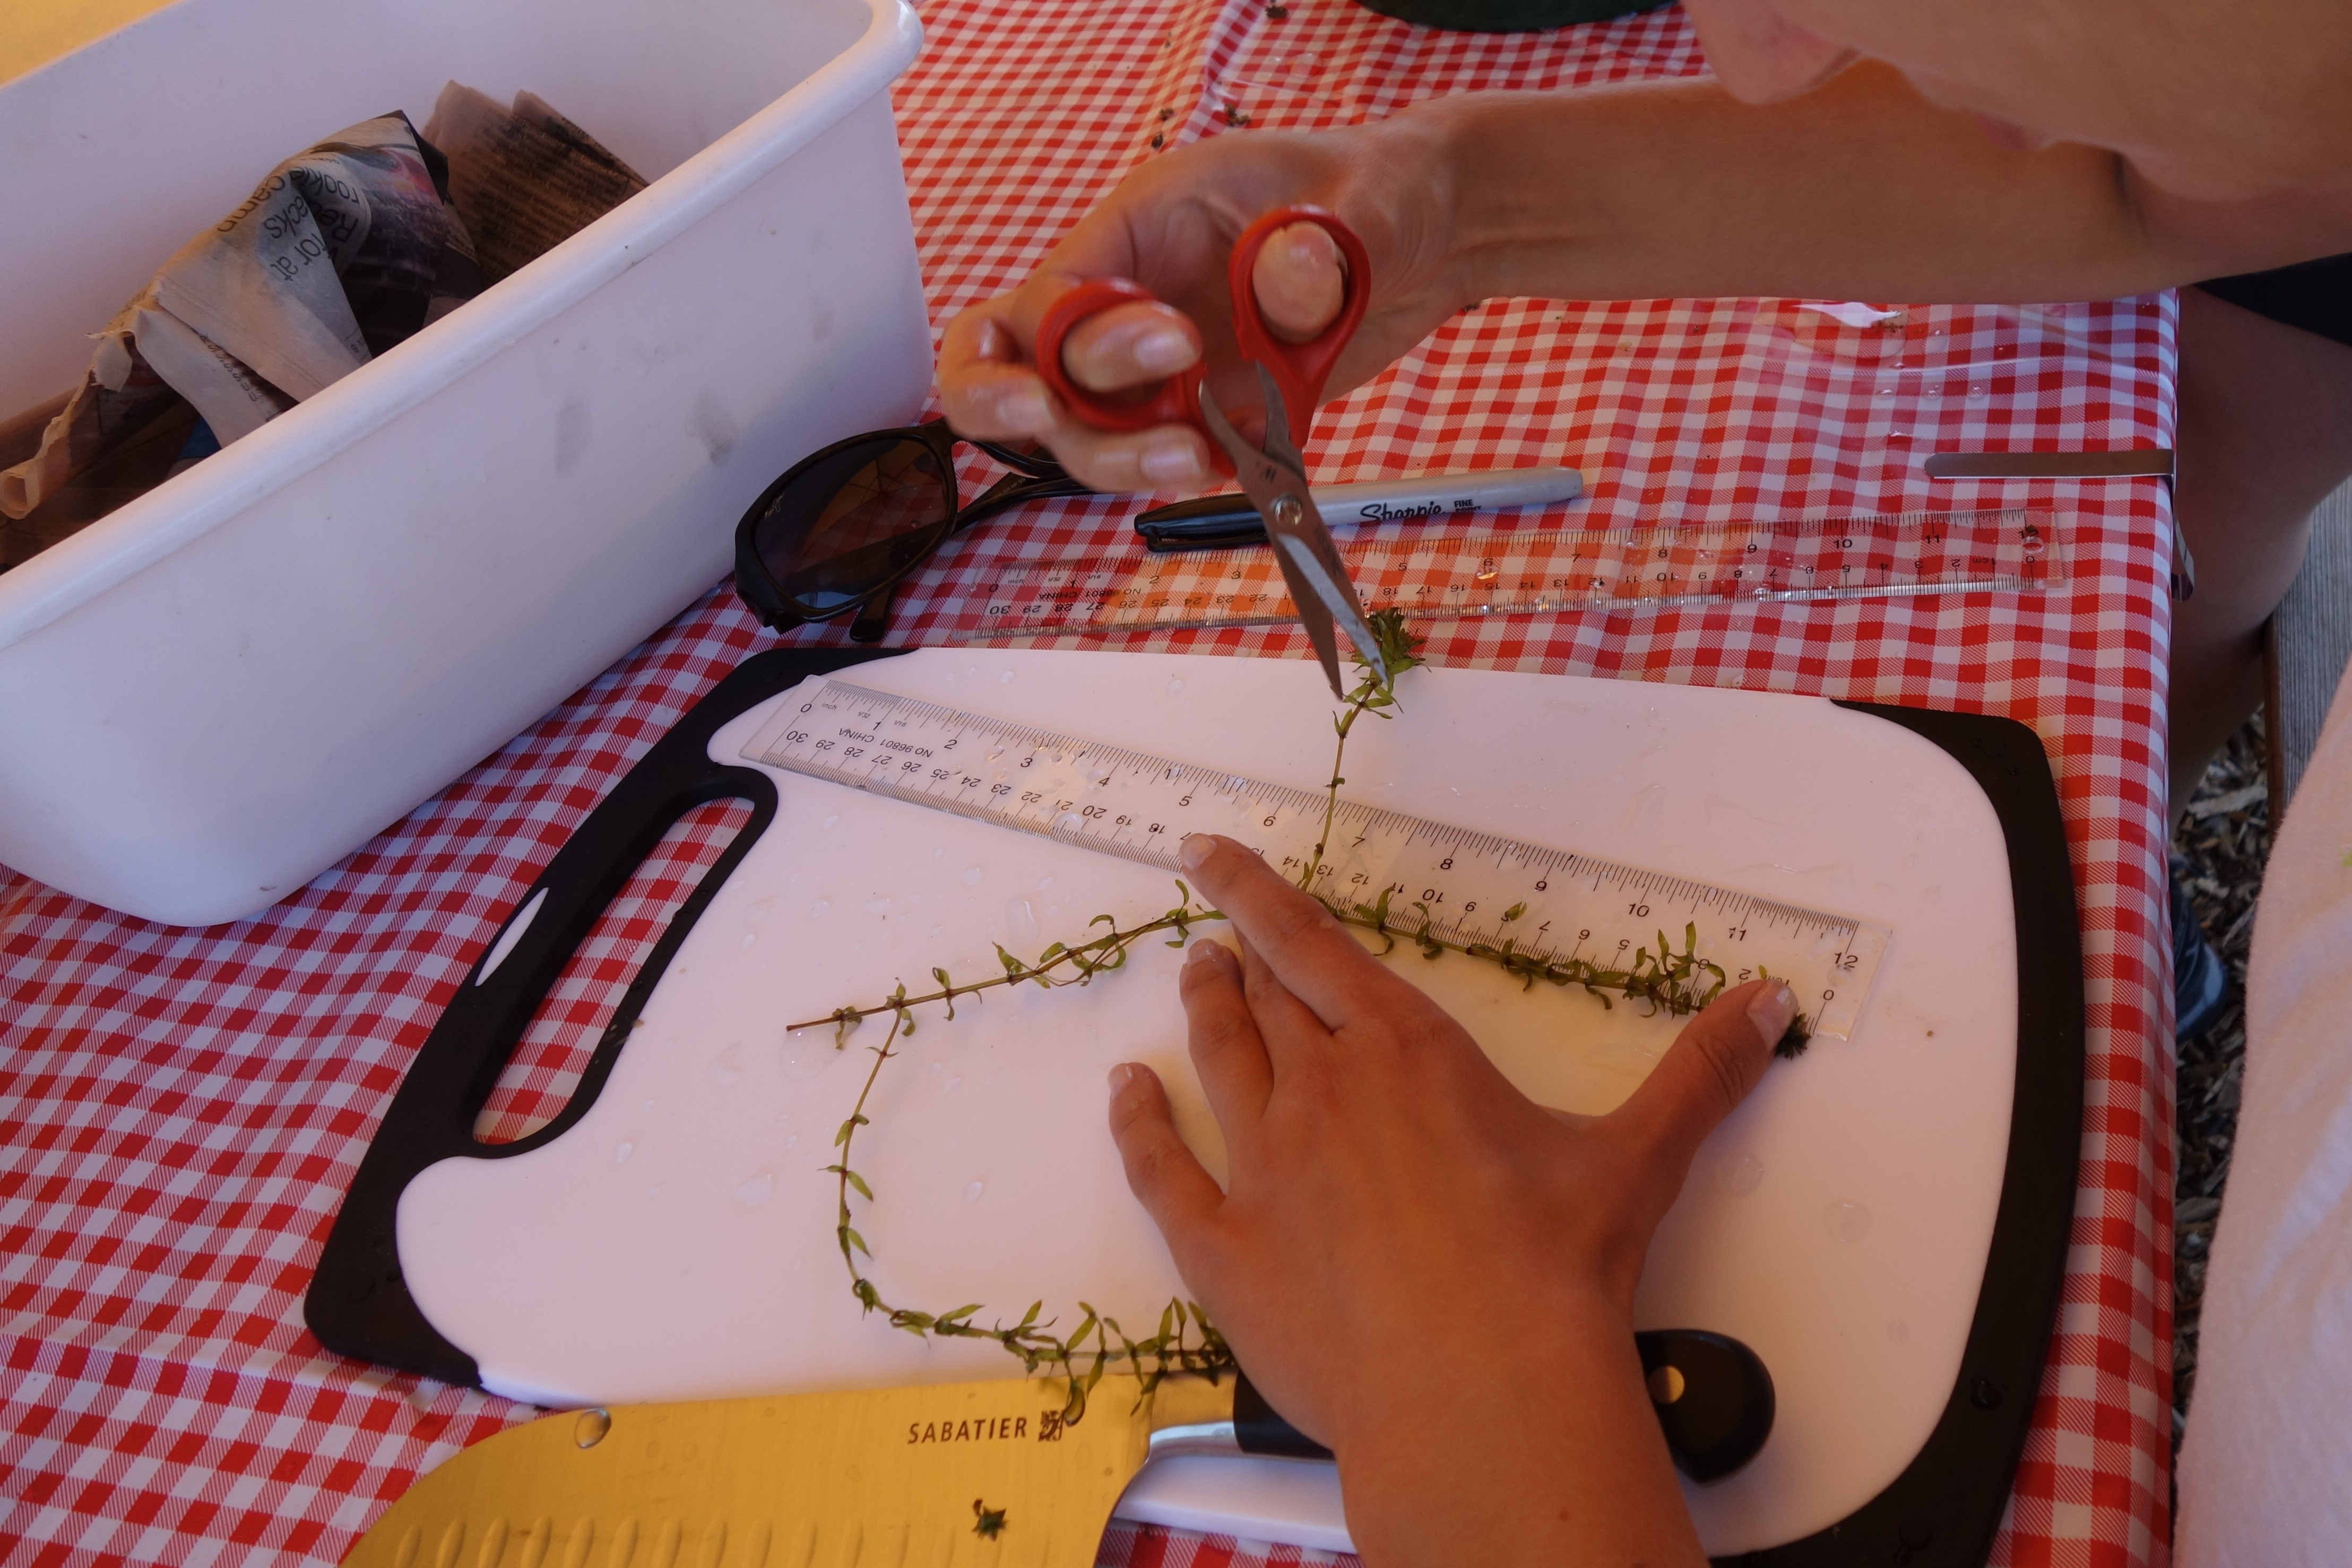
Step 8: Plant cutting
Healthy plant shoot tips were selected from the stock tanks and cut to uniform length. 2970 shoots were cut.
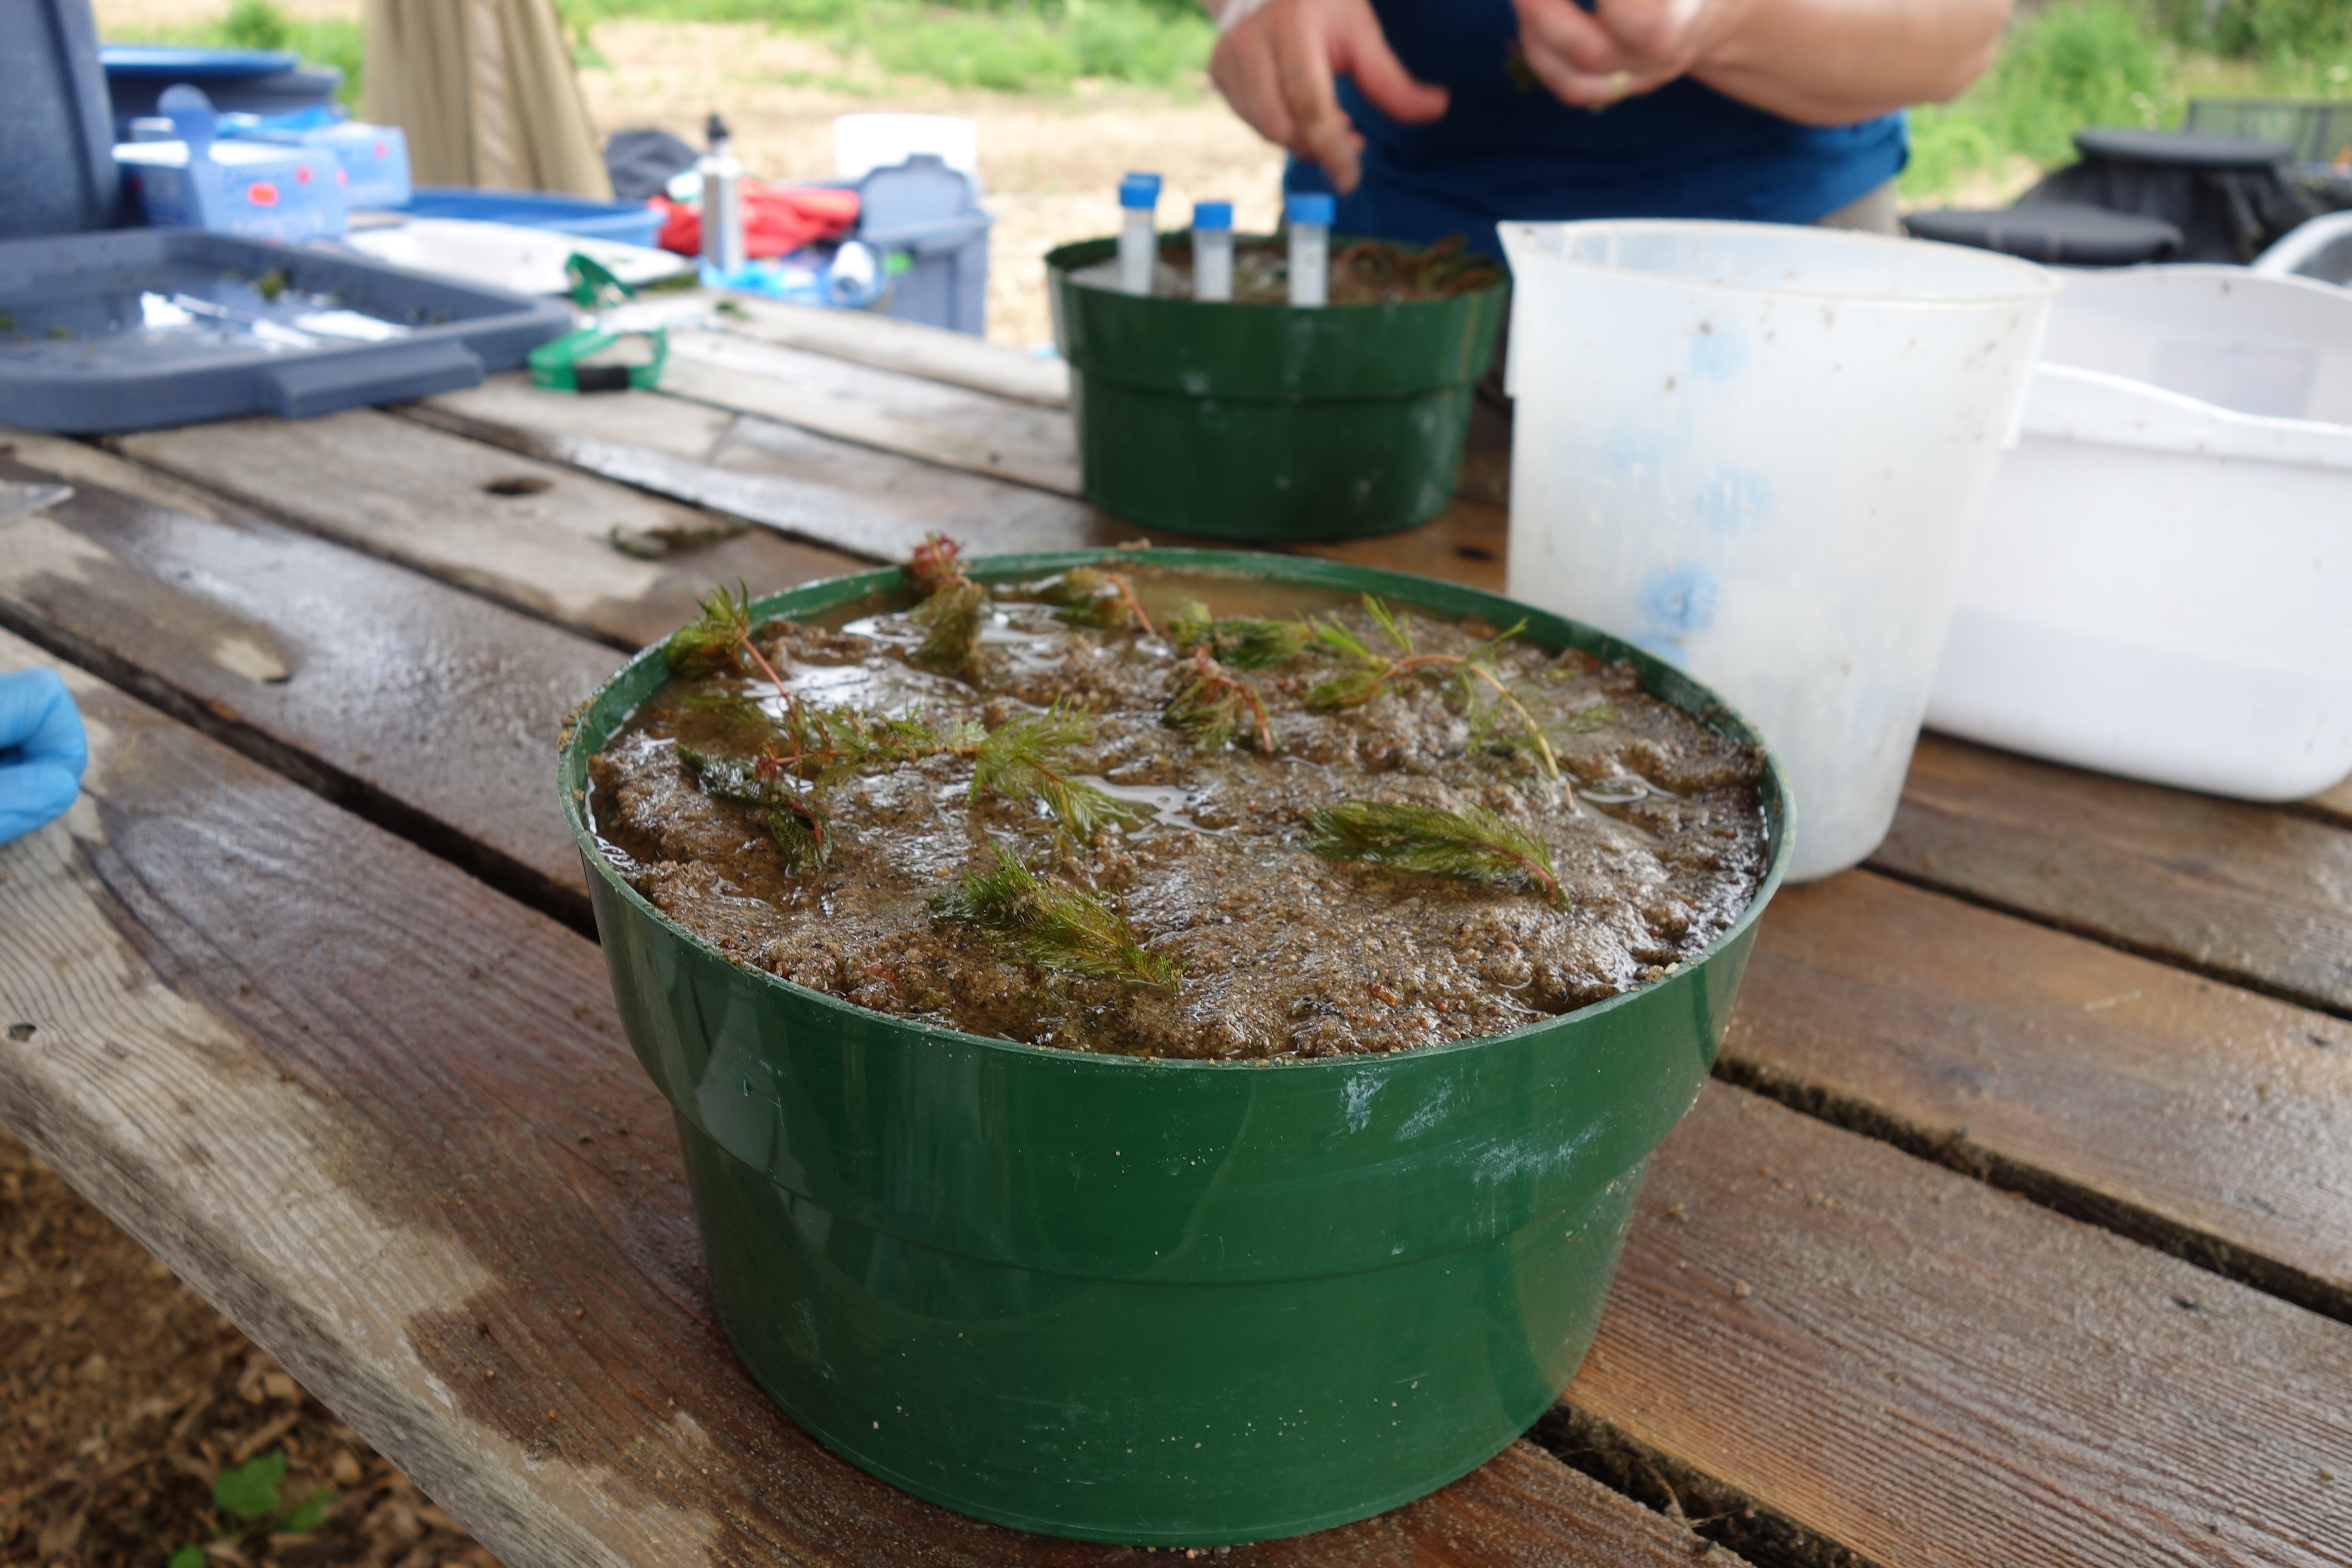
Step 9: Planting (photo by V. Sesin)
Step 9: Planting
The plant shoots were carefully planted into the test sediment pots; ten each. Every single shoot had its designated spot with a plastic centrifuge tube as place holder. The plant pots were then submerged into the experimental mesocosms and maintained for two weeks to induce root development.
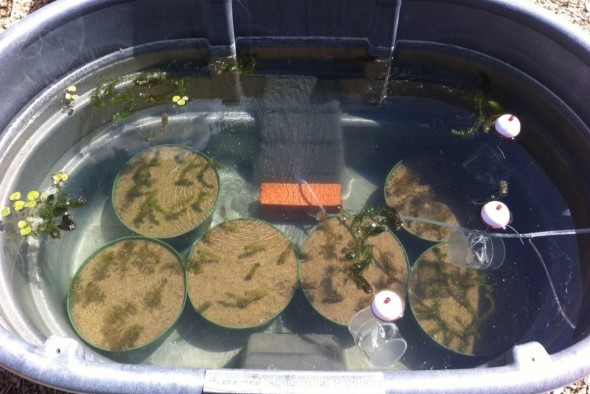
Step 10: Newly transplanted mesocosm (photo by V. Sesin)
Step 10: Newly transplanted mesocosm
Finally! All the aquatic plants are planted and the plant pots are submerged into the experimental mesocosms. Here is one out of 33. From there, the mesocosms were left alone so that the plants could start feeling at home, i.e. start rooting and growing.
P.S.: Mesocosm treated with a herbicide (photo by V. Sesin)
P.S.: Since the mesocosm experiment was not set up for fun, but for testing herbicide toxicity, the experimental treatment tanks were dosed and monitored for 42 days. And unfortunately, all our plants that we had collected, cut and transplanted with so much effort and love, were killed…
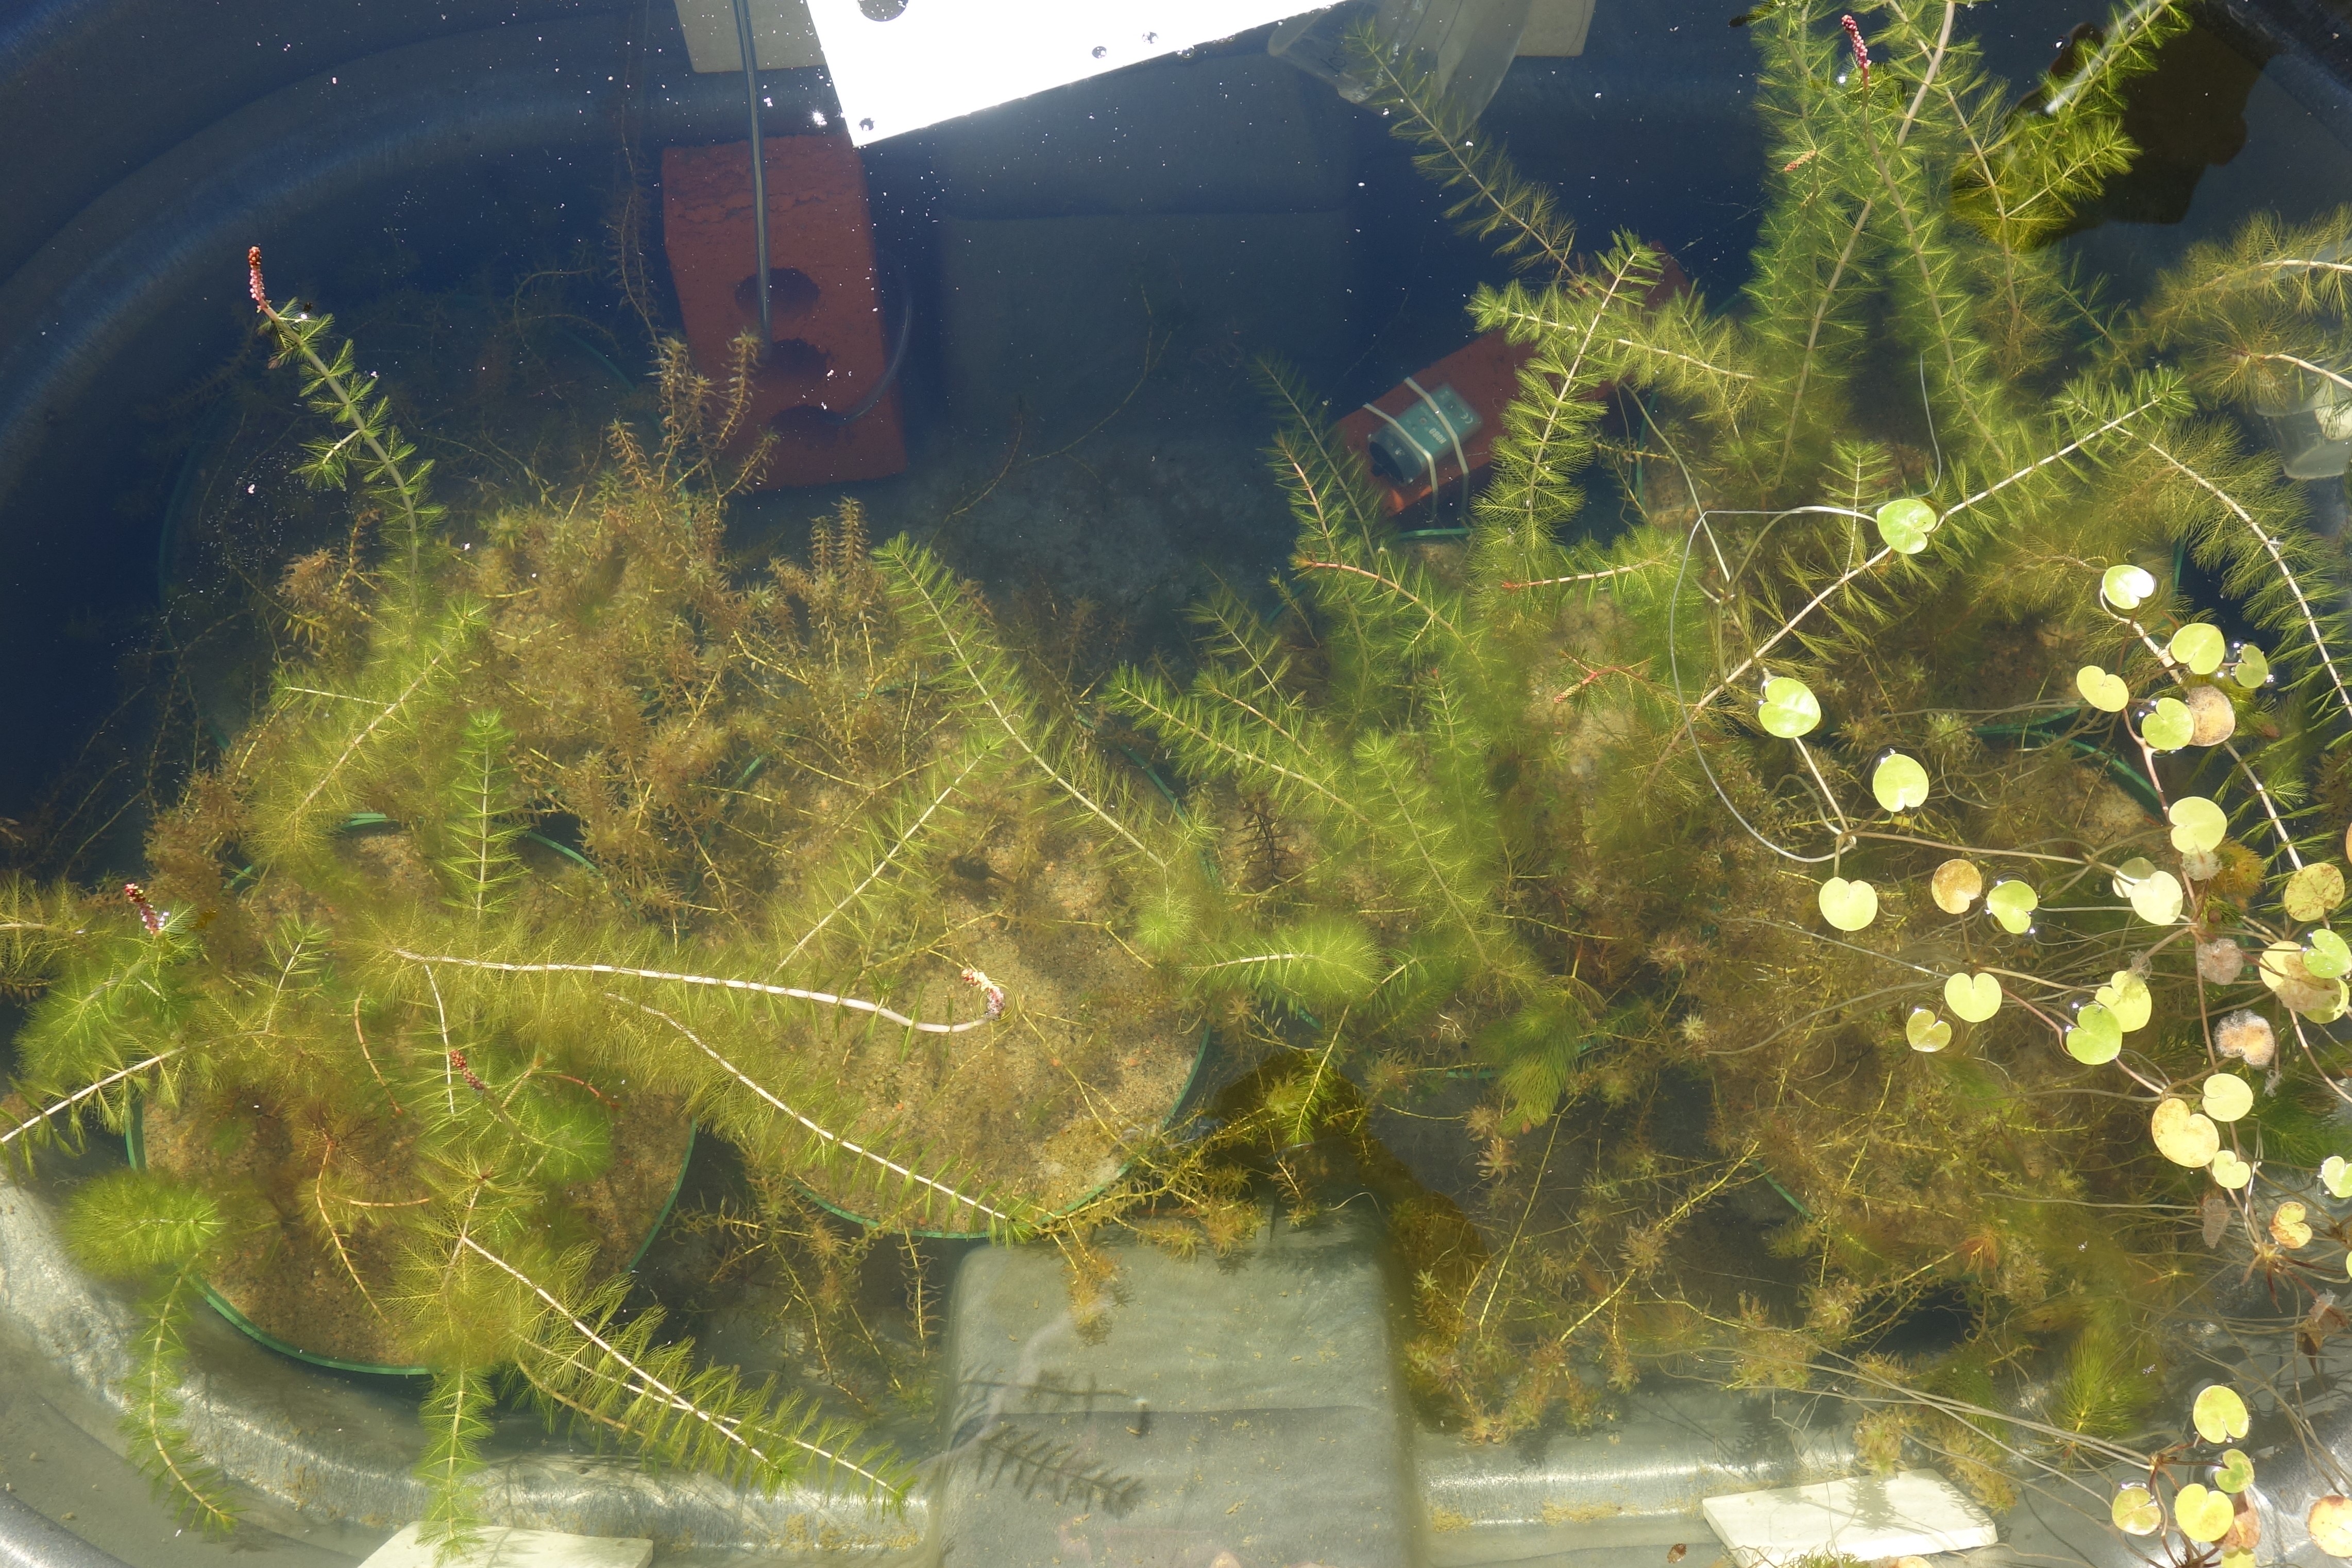
P.P.S.: Control mesocosm (photo by V. Sesin)
P.P.S.: However, the control tanks still looked beautiful.